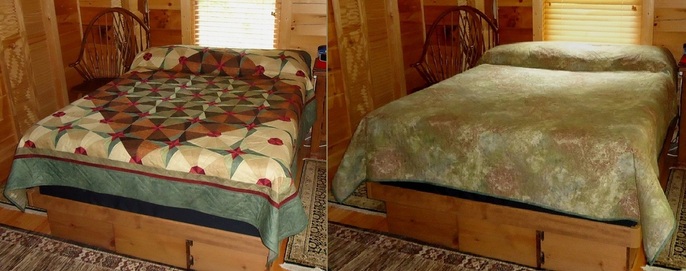
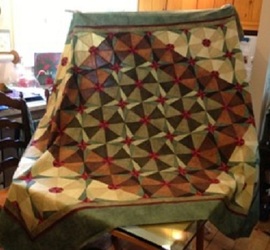
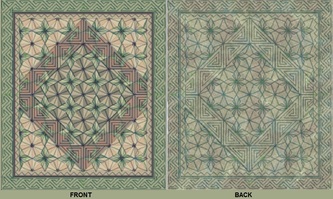
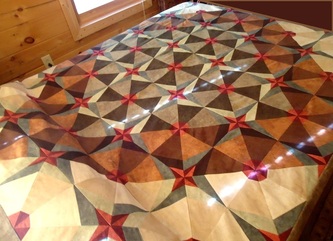
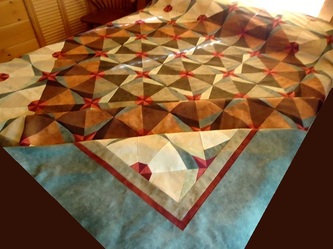
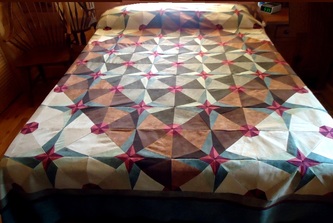
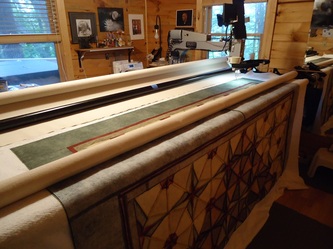
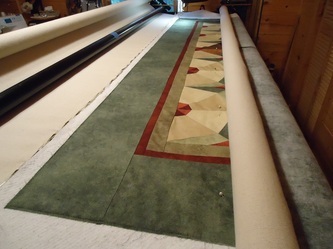
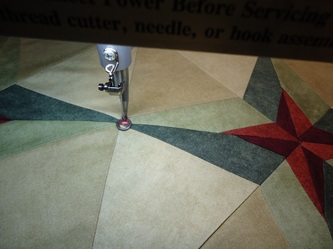
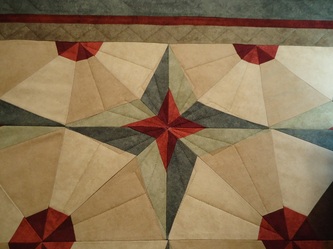
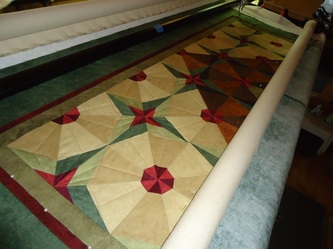
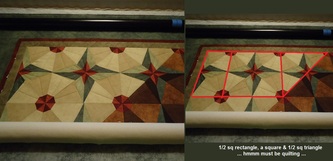
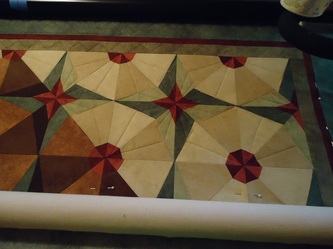
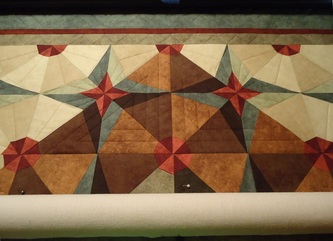
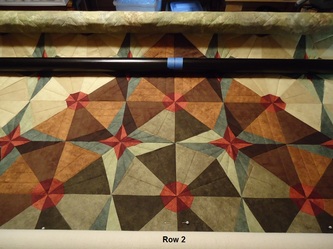
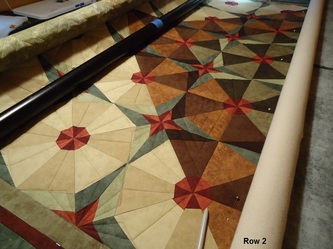
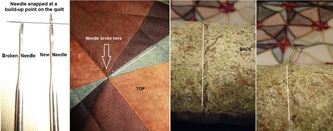
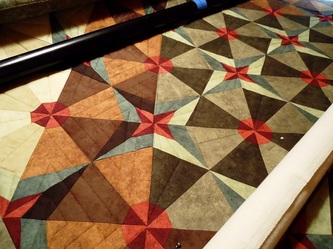
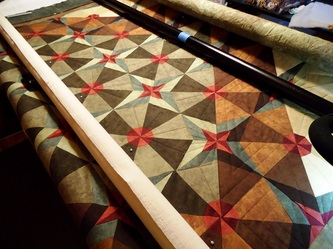
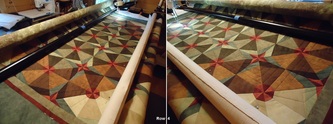
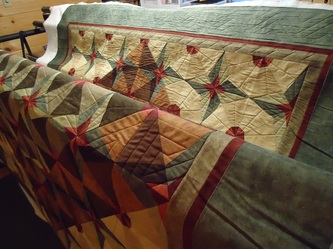
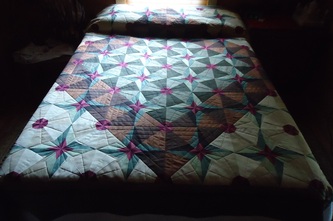
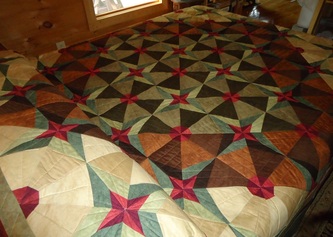
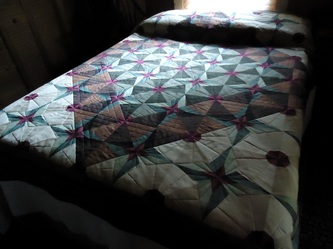
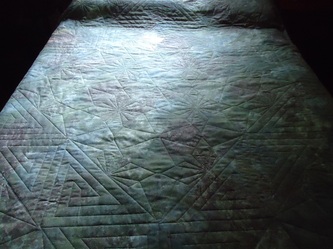
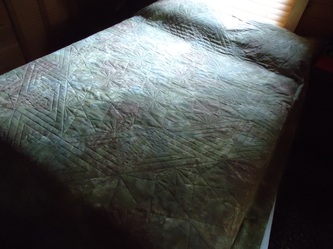
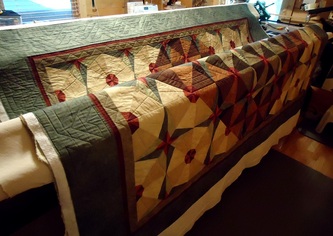
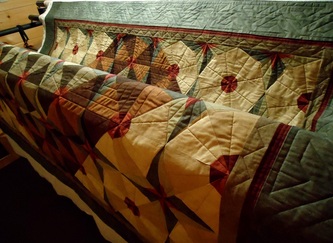
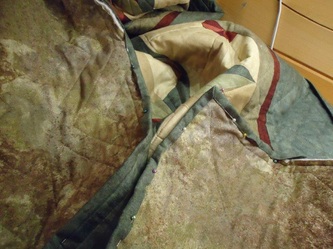
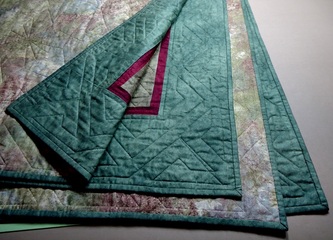
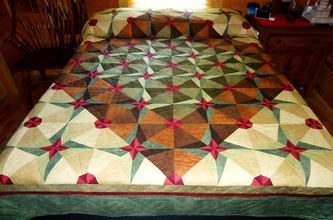
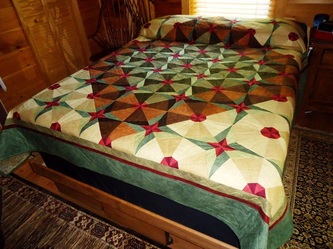
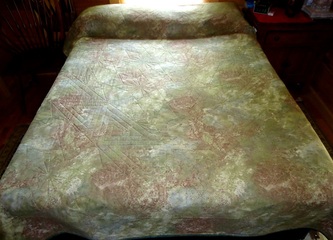
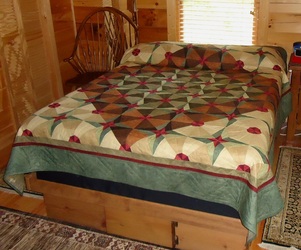
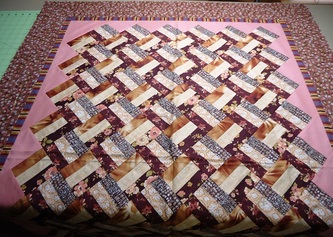
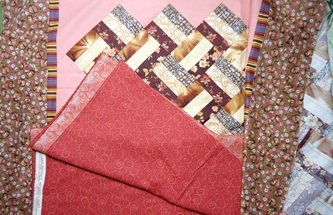
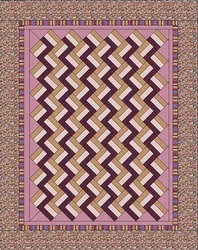
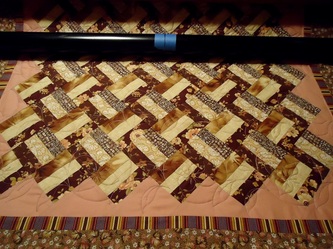
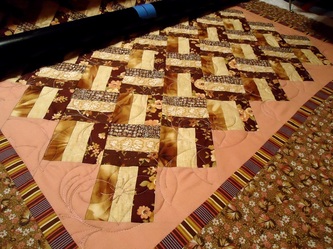
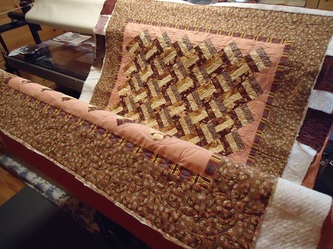
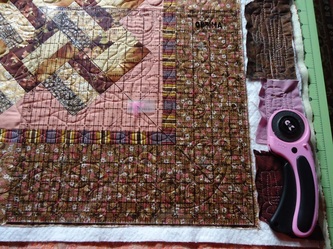
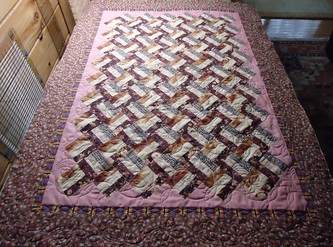
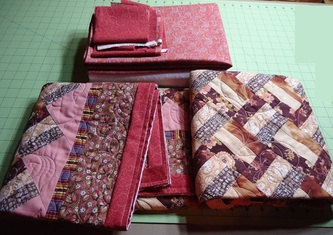
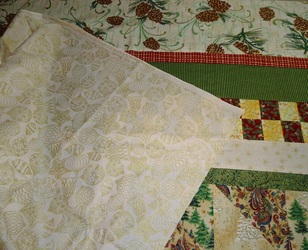
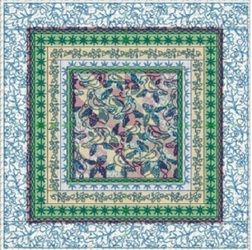
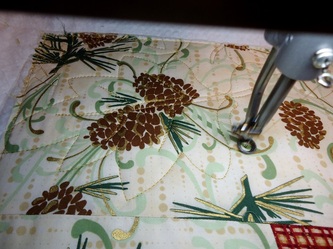
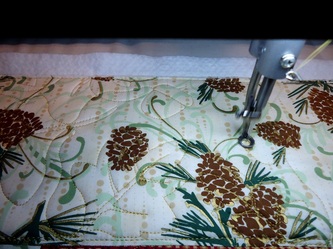
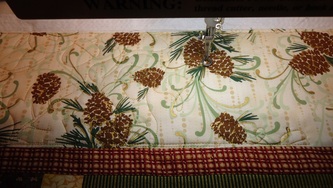
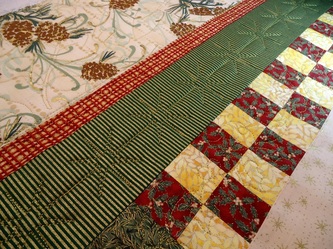
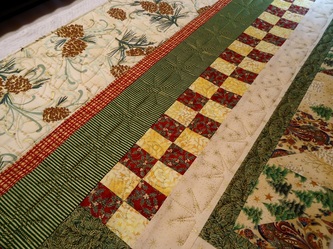
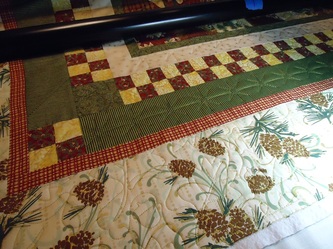
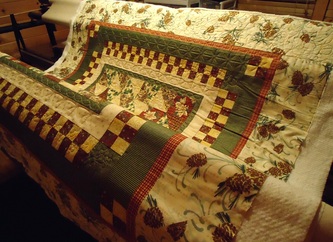
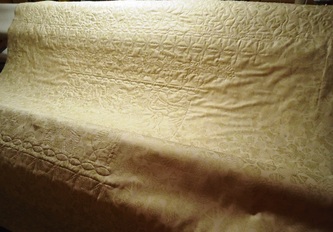
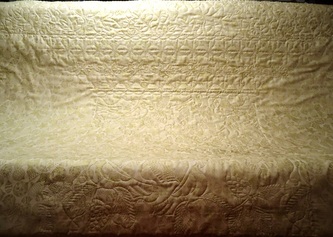
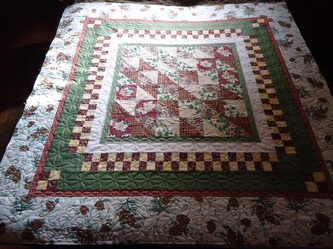
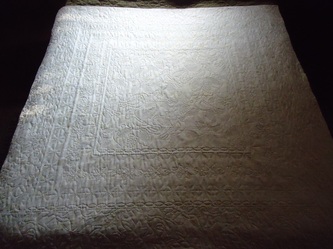
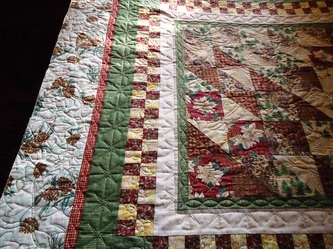
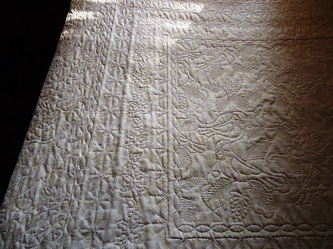
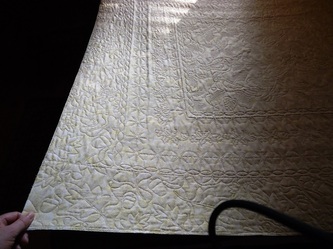
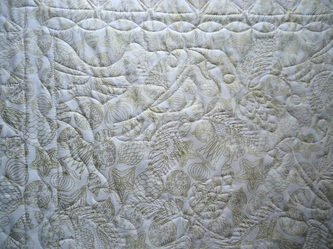
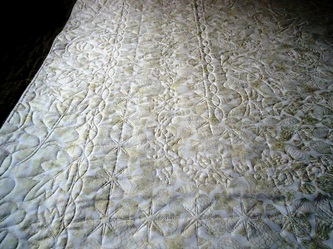
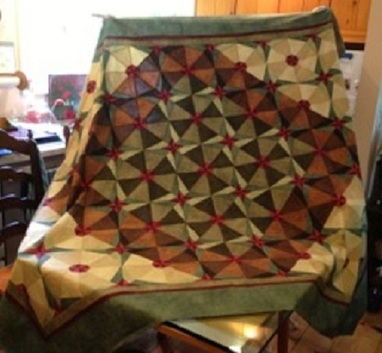
 This is a preview of Michael 's first quilt ... yes, first quilt. He'll be shipping soon. Meanwhile he is hard at work learning about custom quilting and planning how he wants this longarmed. Jul 03: We began our conversation by email.
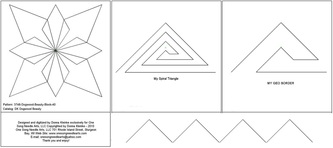
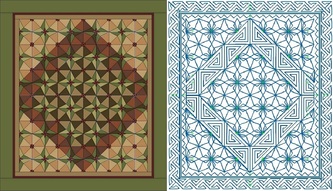
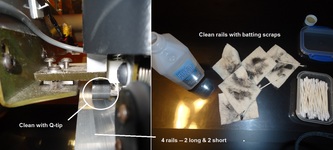
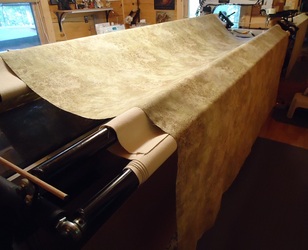
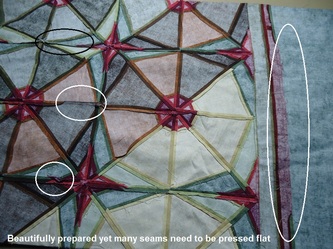
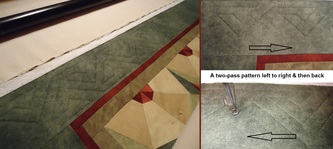
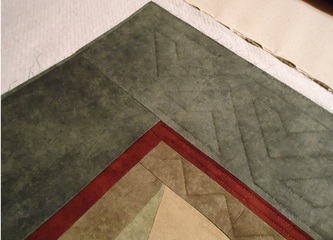
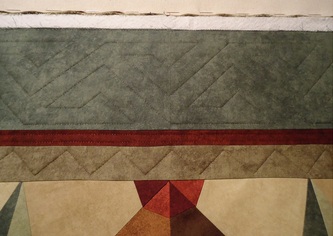
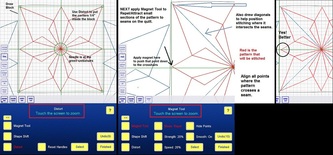
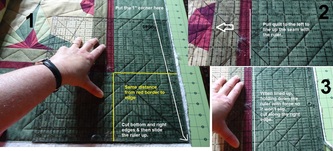
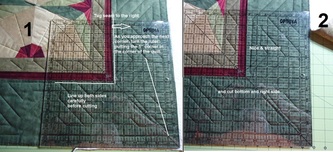
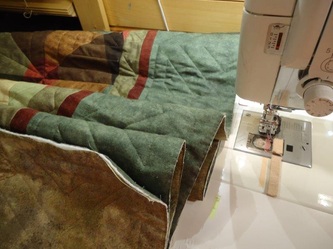
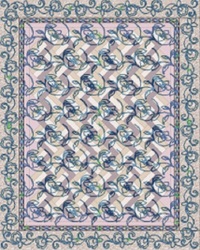
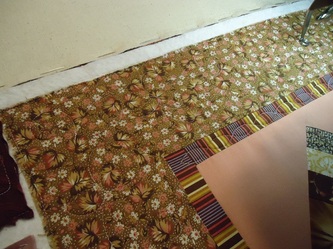
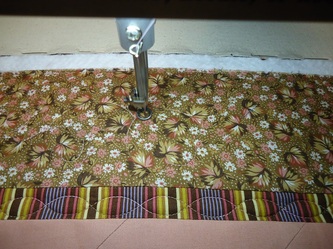
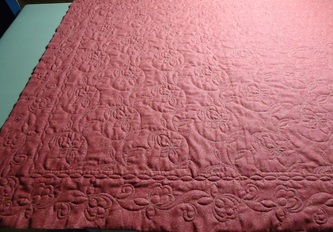
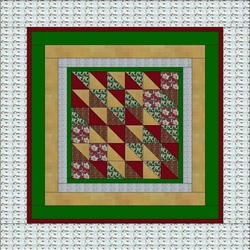
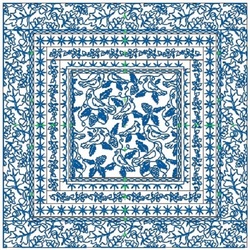
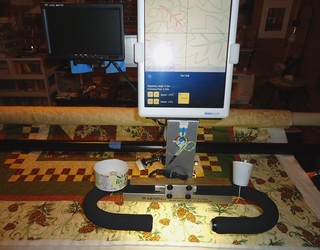
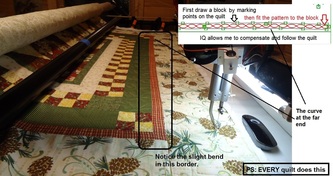
Jul 04: Oh, the phone is so much easier!! Michael is thinking custom and I am thinking he needs to plan it. Believe me, I can execute a quilt but I try very hard not to. Executing a plan is not so bad though with Intelliquilter. I struggle with designing so it will be fun to see where we end up on this one. Will I bow out and recommend someone else or tackle it myself? I've been known to do both. Did an EQ7 rendition in preparation for design layouts. Started playing... Jul 08: Working the IQ layout. This one is a super challenge. Need to keep it simple yet stunning. Jul 09: Still working on the layout. Jul 10: Layout is complete. Using Smoke Monopoly on top & Bottom Line Sage on the back. Quilt is here. Beautiful quilt. Incredible work. Jul 24: Setup. I made a Task List for Michael to follow along. Everyone might enjoy this. 1. The triangles in the center on the diagonal are rather erratic. I want to make them more precise by cleaning up the pattern. done 2. Clean the rails and wheels with alcohol done 3. Clean the bobbin case area with WD-40 and then oil, running until clean done 4. Re-measure the backing & top to be sure they fit. done 5. Press the back wrong side first to remove creases and make sure seams are flat. done 6. Lay the backing out over the longarm right side down. done 7. Press the top wrong side first focusing on flat seams. done 8. Cut the batting. done 9. Load the thread. Test thread colors. Set the tension. done Jul 25: Quilting Day 1 10. Load the backing. (pin top edge & roll, pin bottom edge and roll back) done 11. Load the batting done 12. Baste the batting using the stabilizer bar to get a straight guideline done 13. Load the top done 14. Align the top to the guideline & baste done 15. Baste the sides from the stabilizer bar down to the take-up bar done 16. Photograph & post done 17. Re-test the tension in the quilt margin done 18. Turn on IQ & mark the center of the table/quilt done Decided to clean up corners on the outer border. Discovered there are 4 versions. 19. Load the pre-planned layout of all patterns done 20. Top Border - Geometric done a. Delete all my pre-planned blocks b. Draw a block using mark on quilt (Videos of all the IQ procedures) c. Fit my pre-planned border into that block d. Quilt the pattern e. Delete block and pattern f. Photograph & post 21. 2nd Border – parallel lines done a. Delete pre-planned lines b. Mark on quilt a SID line from left to right in the top seam. c. Move it down ¼ “. d. Stitch e. Repeat for bottom seam moving it up ¼” f. Delete both lines 22. 3rd Border – roof tops done a. Draw a block using mark on quilt. c. Fit my pre-planned border into that block. d. Quilt the pattern. e. Delete block and pattern. f. Photograph & post Jul 26: Quilting Day 2 23. Ready for main blocks a. Roll the quilt (unclamp, roll, clamp, pin baste the sides) b. Delete my pre-planned blocks c. Draw a new block using mark on quilt d. Fit pre-planned pattern into the new block using Distort & Magnet Tool e. Quilt the pattern f. Delete blocks and patterns. e. Photograph & post 24. Repeat, repeat, repeat *** Tweaked the Spiral Triangles in IQ to match the outer border Row 1 of center done 25. Photograph and post every row. Roll the quilt. done Jul 27: Quilting Day 3 - Rows 2 & 3 of Center Section Jul 28: Quilting Day 4 - Finished center section and bottom borders 26. Bottom borders. Baste the bottom first. done Jul 29: Quilting Day 5 - Will first take out a few lines I should not have quilted in the first place done 27. Re-load quilt & do side borders done Oops! Forgot lines in red border on left side 28. Unload done & square the quilt 28. Make the binding done by Michael 29. Attach the binding to the front done Jul 29-Aug 01: 30. Do the hand binding on the back done 31. Load and stitch lines in red border on left side
10 Comments
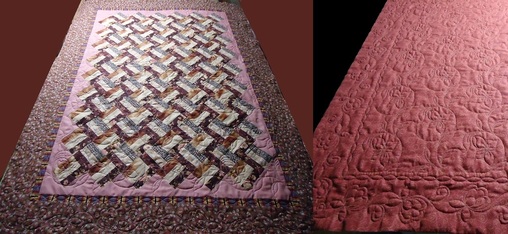 Note the French spelling of trellis. That is because Gislaine speaks French in her native Haiti where she lives. An adorable and cultured and elegant woman, Gislaine is a delight to know and partner with on her beautiful quilts. She was one of the first to entrust me with a quilt after I started this website. I was honored then and even more now as she comes back for the third time with quilts 4 & 5. This time we are going custom. G is finding out how much more involved that is. Jun 29: Backing arrived
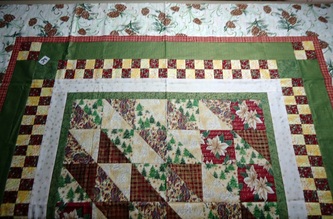
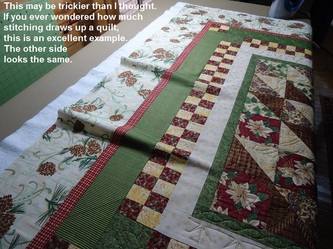
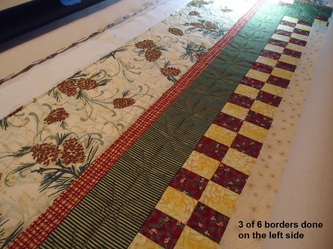
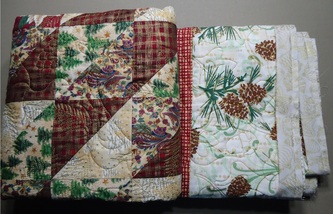
Jul 02: Quilt top arrived Jul 04: Working together on pattern & thread choices. Considering custom border so I did a rough EQ7 rendition. Gislaine is busy selecting patterns. Jul 05: Have final thread choices Jul 06: Layouts started. Will be fun to see where we end up. Jul 07: Spent all day on layouts. We have a plan. All set to quilt. Jul 18: Wow! Where has time gone? Cut the backing, thread is ready, prepped for loading, loading. The binding is ready. Spent the rest of the day dealing with tension. That hasn't happened in nearly two years, not this bad. Changed bobbin to Medium Brown Jul 19: Quilting. Finished the top borders and center panto section. Busy fabrics make it hard to see the pattern. Jul 20: Bottom borders are done. Turning and reloading to do side borders. Quilting is done. Quilt is squared. Binding is attached. Ready to ship. 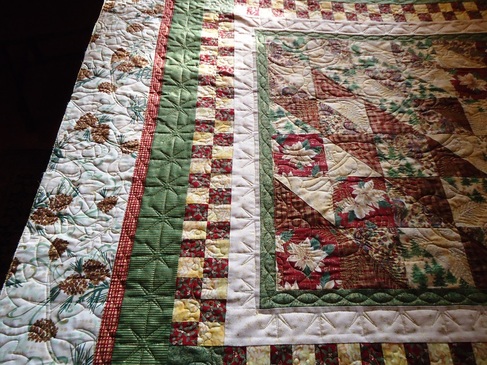 Note the French spellings. That is because Gislaine speaks French in her native Haiti where she lives. She is back with this metallic holiday quilt and wants some fancy border quilting. With 6 borders on her quilt, this is a serious custom challenge. Patience, lots of experimenting, more patience, etc.--wonder what we will create. Jun 29: Backing arrived
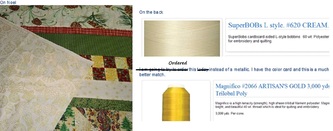
Jul 02: Quilt top arrived Jul 04: Working together on pattern & thread choices. Considering 1 or more custom borders so I did a rough EQ7 rendition. Started the layout. Jul 05: Have final thread choices Jul 07: Spent all day on layouts. We have a plan. All set to quilt. Jul 10: The special order gold thread is in. Jul 21: Taking a lot of deep breaths as I contemplate all these borders. Thread is loaded & tension set. Backing is pieced & loaded. Water spray and a hot iron smoothed the slightly wavy outer border all the way around. Top is loaded and basted. Had obstructions errors & it took me awhile to figure out how to fix the situation. Took a break once fixed & then had to redraw the top outer border block. The outer border is actually a very dense pantograph by Kim Diamond that I enlarged & then carved out just what we need to fill the space. I am planning to do the top borders and then the center and the bottom borders. I'll then reload the quilt to do the 2 sets of side borders. This will be a lot of marking blocks per the quilt & then moving and sizing each border into its custom block. As the quilt borders bend, so will the patterns as I try one by one to center them leaving about 1/4" margin between the ditches and the patterns. Top, center & bottom borders are done. Jul 22: Reloaded and basted. Jul 23: Off to an early start & have done the first set of side borders. The slack in the fabric is drawing up nicely. Quilting is finished. Binding is attached and thus my work is done. |
Categories
All
Archives
November 2023
|
